The process of using Heat Shrink Tubing is straightforward. In this article you will find a step-by-step guide on how to use heat shrink tubing and the temperature required for the tube to shrink.
At a Glance
How Hot Does a Heat Shrink Tube Need to Get to Work
The temperature at which heat shrink tubing shrinks depends on the specific material and manufacturer. However, most standard heat shrink tubing typically starts to contract at temperatures between 90°C to 120°C (194°F to 248°F).
Shrinkage Range -
The tubing will continue to shrink until it reaches its fully shrunken state, which is typically achieved at slightly higher temperatures. The final size depends on the tubing's shrink ratio, which is usually mentioned on the packaging (e.g., 2:1, 3:1).
Shrinkage Time -
The time it takes for heat shrink tubing to fully shrink depends on various factors, including the tubing's thickness and the heat source's temperature. It usually takes just a few seconds to a minute for the tubing to shrink completely.
How to Use Heat Shrink Tubing
Materials and Tools Required:
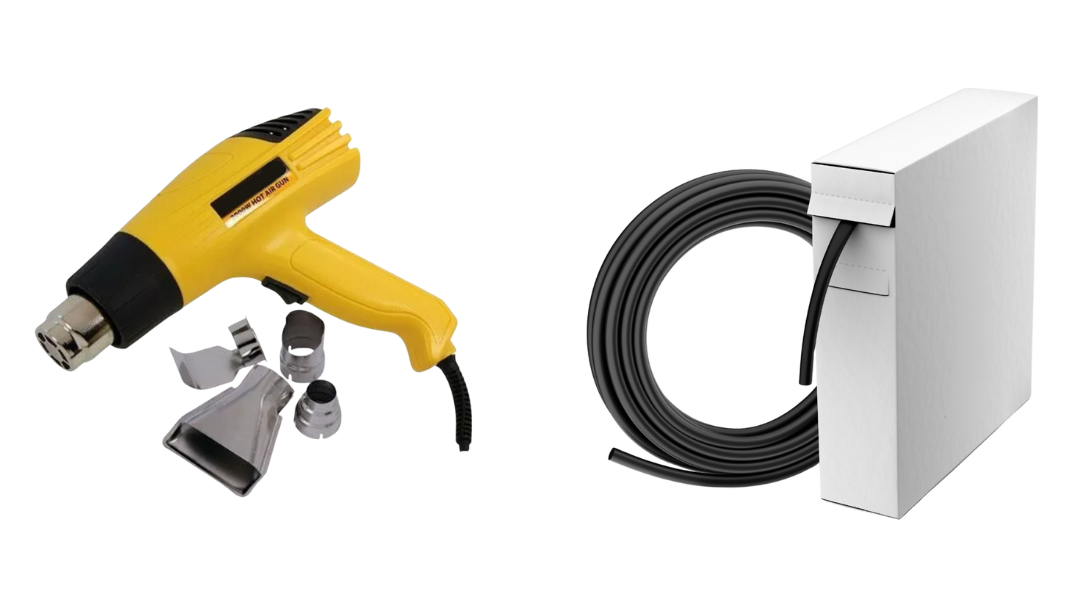
1 Heat Shrink tubing: Choose the appropriate size and type for your application.
2 Wire or component: Ensure it's clean and properly prepared.
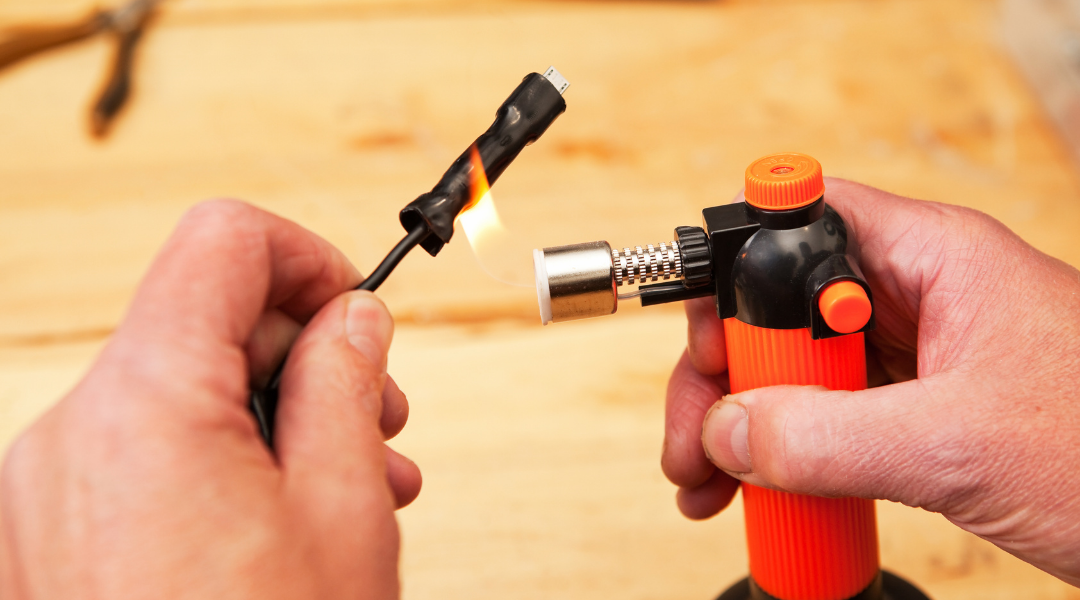
3 Heat source: You can use a heat gun, a heat shrink oven, or a small butane torch.
4 Heat-resistant gloves: Protect your hands from hot surfaces.
5 Safety glasses: Shield your eyes from any splatters or debris.
6 Scissors or a utility knife: To cut the tubing to the desired length.
Safety Precautions
When working with heat sources to shrink tubing, always take appropriate safety precautions. Use heat-resistant gloves to protect your hands from hot surfaces, and wear safety glasses to shield your eyes from any splatters or debris.
Steps to Use Heat Shrink Tubing:
1. Measure and Cut
- Determine the length of heat shrink tubing you need, ensuring it's slightly longer than the area you want to cover. The two dimensions to consider are the expanded diameter and the recovered diameter.
- Cut the tubing to the required length using scissors or a utility knife. Make a clean, straight cut.
2. Prepare the Wires or Components
- Ensure the wires or components you want to cover with heat shrink tubing are clean and free from debris or grease.
3. Slide the Tubing
- Slide the cut heat shrink tubing over the wires or components, making sure it covers the area you want to protect or insulate.
4. Apply Heat
- Use your chosen heat source (heat gun, oven, or torch) to evenly apply heat to the tubing. Keep the heat source rotating to avoid overheating or scorching.
5. Observe Shrinkage
- As you apply heat, you'll notice the tubing beginning to shrink and conform to the shape of the wires or components. It will also become snug and seal the area. The shrinkage needs to happen uniformly, so take care at this step.
6. Avoid Overheating
- Overheating the tubing can cause it to melt, char, or become brittle. To avoid this, keep the heat source moving and maintain a safe distance between the tubing and the heat source. Once the shrink tube has completely shrunk, remove the heat source.
7. Allow Cooling
- After the tubing has fully shrunk and formed a tight seal, allow it to cool naturally. You can apply physical touch once the shrink has started to cool down.
8. Final Inspection
- Once the heat shrink tubing has cooled, inspect it to ensure a secure and uniform seal. Make sure there are no gaps or exposed areas.
And that's it! You have successfully used heat shrink tubing to insulate, protect, and organise your wires or components. Remember to be careful when using heat sources and follow the manufacturer's guidelines for your specific heat shrink tubing, as the shrinking temperature can vary depending on the material and brand.
Enjoyed this article? Explore our latest buyer’s guide on automotive products.