Safety, performance and longevity all rely on one thing – proper cable installation. That means ticking off each step carefully from start to finish, from cutting the correct lengths of wire to regularly inspecting connections for corrosion.
If you're a trainee mechanic or car modder, you might be unsure how to install automotive electrical cables with confidence. Luckily, the following guide covers the basics, including installation best practices, mistakes to avoid and safety precautions.
Planning the installation
By failing to plan, you are preparing to fail – this quote is especially true when it comes to cable installation. The secret to success is mapping out your work in advance, so you avoid unexpected issues further down the line.
Below, we've outlined some of the most important things to do before starting.
Check the vehicle manuals and wiring diagrams
This goes without saying, but you should always check the vehicle manuals and wiring diagrams beforehand. This provides a solid understanding of the system's layout, including component locations, wire paths and diagnostic information.
Purchase the appropriate tools
Another relevant phrase in cable installation is that a worker is only as good as their tools. Investing in quality crimping and cutting tools early on will save you time and money on repairs in the long run.
Here are the must-haves:
- Wire cutters – For clean, accurate cuts that prevent frayed ends.
- Wire strippers – To remove insulation without nicking or weakening the conductor.
- Crimping tool – For creating solid, gas-tight crimps that won’t loosen under vibration.
- Soldering iron – Useful for certain connections where soldering is specified, though crimping is generally preferred in automotive settings.
- Heat gun – For properly shrinking tubing, ensuring insulation and moisture protection.
- Multimeter – For testing continuity, voltage, and resistance during and after installation.
And here are some added extras that can be useful:
- Cable testers – Quickly identify shorts, opens or wiring mistakes in complex harnesses.
- Wire strippers with gauge markings – Help prevent over- or under-stripping by matching the tool to the exact wire size.
- Torque wrenches for terminals – Ensure battery and fuse connections are tightened to the correct specification without overtightening.
Label printer or cable markers – Ideal for large projects where identification is critical.
Choose the correct cable type
Choosing the correct cable type might sound simple, but it can be confusing for beginners. How do you know which is best? We've listed the most important considerations below:
- Voltage rating – The maximum voltage a cable can handle
- Wire gauge (mm² / AWG) – The thickness of the conductive core
- Insulation material – Materials offer different levels of protection against temperature, chemicals and other environmental factors
- Temperature rating – The maximum and minimum temperatures a wire can safely operate in
- Flexibility – Important for routing cables in tight spaces or around moving parts
Plan your route
Route mapping involves planning the path a cable will take through a vehicle to ensure optimal safety and performance. Efficiency should be your top priority, which means avoiding high-heat areas, minimising cable length and grouping related cables where possible.
Familiarise yourself with best practices
Lastly, familiarise yourself with installation best practices. Some of these include:
- Avoiding heat sources and sharp edges
- Measuring the length of cables accurately
- Disconnecting the battery before starting work
- Colour code wires for easy maintenance
- Installing fuse protection
Related reading: A Guide to Domestic Fuses
EV and modern vehicle considerations
Installing cables in electric and hybrid vehicles demands extra care:
- High-voltage systems require strict adherence to manufacturer guidelines to prevent shocks or system damage. These are often marked with orange insulation.
- Voltage ratings are critical, and wires must be sized correctly to handle higher currents safely.
- Modern vehicles also use sensitive data cables, such as CAN and LIN bus lines, which require proper shielding to avoid interference.
- Heat management is another key factor, especially in battery packs and motor controllers.
Step-by-step installation guide
While every job is different, there are usually a few non-negotiable steps when installing automotive cables. Use the following checklist as a guide.
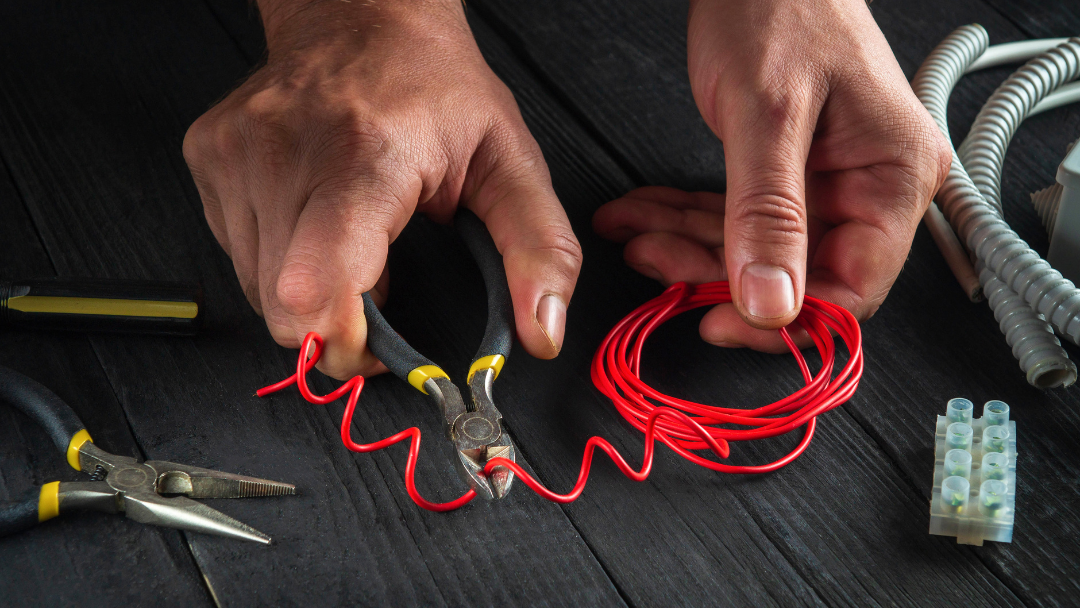
- Step 1 – Cut and strip the cables using wire cutters. Measure an appropriate length, taking bends and routing into account. The exposed cable should fit neatly inside the terminal box.
- Step 2 – Crimp or solder the terminals with a quality crimping tool or soldering iron.
- Step 3 – Insulate the wires with heat shrink tubing to protect against damage. Use a heat gun to create a protective seal.
- Step 4 – After routing the cables, secure them with clips, grommets or conduits.
- Step 5 – Connect the terminals to the fuse boxes and batteries.
- Step 6 – Once you've finished, reconnect the battery and test the circuits with a multimeter or test light.
Related reading: A Quick Guide to Heat Shrink Tubing
Common mistakes to avoid
Knowing what not to do is equally important as the checklist above, so we've rounded up a few common mistakes to be mindful of:
- Loose connections – Double-check connections by gently tugging.
- Undersized cable – Choose the correct cable tight for the project.
- Poor cable protection – Don't route cables near sharp edges, hot surfaces or moving parts without the correct insulation.
Safety precautions
Before you pick up a tool or strip a single wire, it’s important to make safety your top priority. Automotive electrical systems may seem harmless compared to household wiring, but they still pose real risks. That extends from burns and shocks to vehicle fires if installation is done carelessly.
Wear the right protective gear
As a minimum, use insulated gloves when handling live circuits and safety glasses to protect your eyes from sparks, flying wire strands or solder splatter. A simple slip with a crimping tool or a burst of molten solder can cause injuries that are easily avoided with PPE.
Always disconnect the battery
This is the golden rule. Even a low-voltage 12V system can create dangerous arcs if a tool bridges a positive terminal to ground. For modern EVs and hybrids, disconnecting the high-voltage service plug is critical before touching orange cabling. Failure to do so has caused serious shocks and burns in workshop environments.
Work in a safe environment
If you’re soldering, ensure good ventilation to avoid inhaling fumes. Keep flammable liquids and materials far away from your work area. When routing cables under the vehicle, use proper jacks and stands. Never rely on a jack alone.
Install automotive electrical cables like a pro
Finally, a job done badly is a job twice done – but focusing on thorough preparation and installation will prevent human error. Simply follow the advice in this guide to improve safety and futureproof your project.