What is soldering?
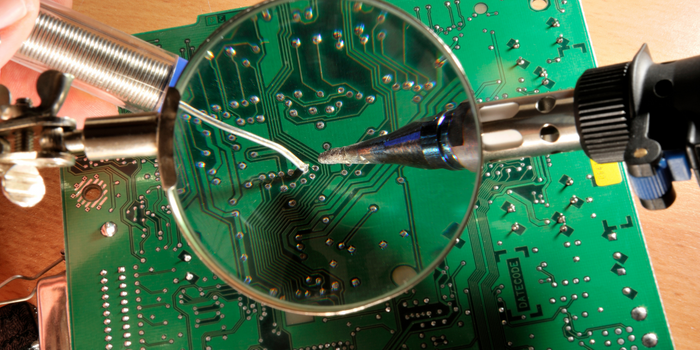
When dealing with electronic devices that have a circuit board there will be components that are attached with the process of soldering. Soldering is the process of joining electronic parts together by melting soldering wires or sticks to carry on the connection. Solder is a metal alloy used to create a strong electrical bond between metal workpieces. It’s often melted using a soldering iron and when it cools it creates a permanent bond between these parts.
Soldering equipment
To solder you will need to get some basic equipment which you can buy from our store:
- Solder wire/sticks
- Soldering Iron
- Sponge (brass/conventional)
- Soldering iron stand
- Wire cutters
- Tweezers
- Safety goggles/gloves
- Helping hand
The prep before soldering
Before you start the soldering process, you will need to thin the tip with solder on the soldering iron. This will help improve the process of soldering and help protect the tip for longer use.
- Make sure the tip is attached to the soldering iron and it is firmly in place
- Switch on the soldering iron and wait for it to heat up
- Use the sponge to wipe the tip of the soldering iron to ensure that it is clean
- After this step, grab both of your soldering iron and solder. Touch the solder to the tip of the soldering iron and melt a light coat of solder around evenly. You do this to extend the life of the tip as the tip will eventually wear out and need replacing.
Soldering Components together
A good example of soldering two components together is soldering a LED piece unto a circuit board.
- To start this process, you will need to insert the component into the circuit board in place. Make sure the wires are bent and held in place as this will help create a better connection with the pads on the circuit.
- Then turn on your soldering iron with the prepped tip and wait for it heat up
- Once it has reached a high temperature, touch the tip to the copper pads and the lead of the LED at the same time so that the pad and lead is heated up. This will need to be held in place for up to 5 seconds.
- Continue holding the soldering iron in place and then touch your solder to the joint you want together. It is important that you do not touch the soldering iron tip directly on the solder. You don’t want the alloy to be too hot. If it’s too hot or cold this will lead to a bad connection at the joint.
- Remove the soldering iron and let the solder cool down, this may take a few seconds. Once the solder has cooled, grab your wire cutter and the snip the extra wire from the lead.
- The soldering joint should be smooth and shiny and in shape of a cone.

Soldering Wires together
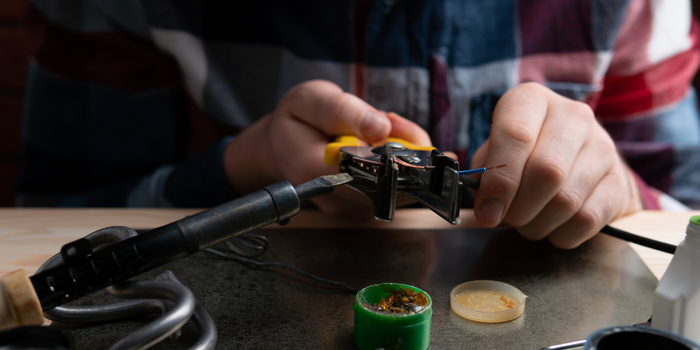
Another good example where soldering becomes useful is soldering wires together. When you solder wires together, it will be much easier to use a type of clamp or even a helping hand.
- Start by removing the insulation of both wires you are soldering together. If the wire is stranded, twist the wire together to make the soldering easier
- Ensure the soldering iron is heated and touch the tip to the end of one of the wires and hold it in place for up to 5 seconds
- Keep the iron in place and touch the solder to the wire until its fully coated. Repeat this step on the other wire.
- Now hold the two wires on top of each other and touch the soldering iron to the wires so that the solder melts across evenly
- Remove the soldering iron and let the solder cool
- If needed use heat shrink to cover the connection


