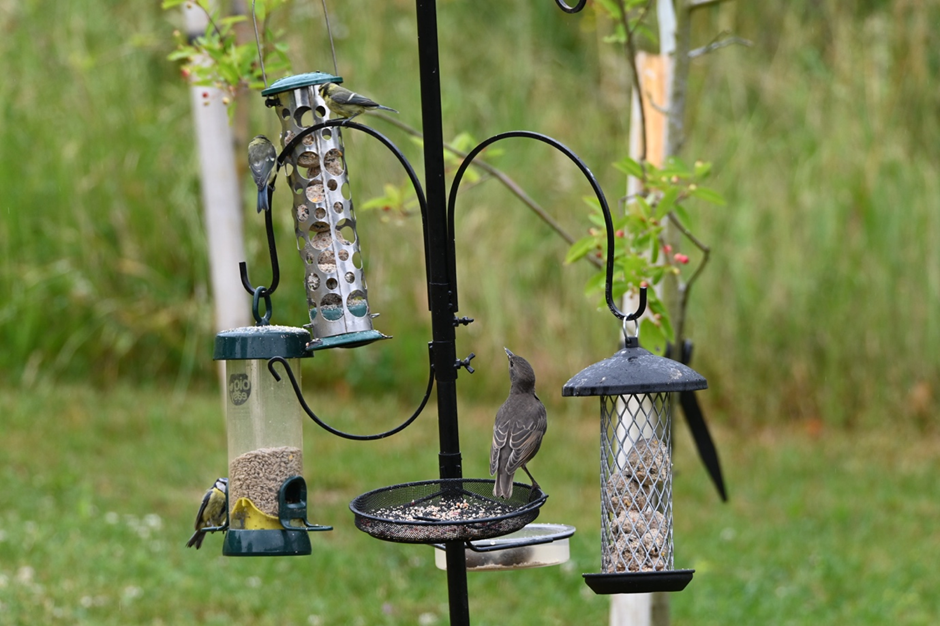
How to create a birdfeeder for your garden or balcony
Posted by Cris on 25th May 2023

One good sign of a healthy garden is an abundance of nature, with birds in particular being a fantastic sign that your garden is thriving. These feathered creatures can bring multiple benefits, with some species helping to pollinate plants, keep insects and pests in check and even tame plants and weeds.
Adding a bird feeder is a simple way to attract more birds to your outdoor space, especially in spring when many species migrate back to the UK and mating season commences. It’s not just the winter month’s when birds benefit from feeders to supplement their diets.
Tommy Wilde, wildlife expert at Floofmania has kindly partnered with us to advise on best practice to encourage birds in your garden. He advises,“Some UK regions have more availability of food sources than others, and while bird feeders are almost always a good idea, in some places they're definitely more needed than others".
In Scotland and in parts of Northern England, the ground is covered by snow for a longer time in winter than it is the case in the south, which means that birds have a harder time finding food, such as insects, fruit and seeds. In these situations, bird feeders can be particularly helpful.
Scarcity of food sources is not only something we see in cold regions, however. We often see that regions where most of the area is agricultural that food sources become vastly reduced because of pesticides and a limited variety of plants. This can also be seen in urban areas and city centres, where it could make a lot of sense for people to install bird feeders and bird baths on their balconies or courtyards, as well as making nesting materials available.”
To attract and support the bird population in your area, why not try creating our DIY, mesh bird feeder at home. It’s easier that you might think to make, with the wire mesh helping to contain loose nuts or seeds and easy hanging keeps squirrels and predators at bay.
What you’ll need:
- Drill (check out our range of drill bits)
- Wire cutters
- Pliers
- Pen knife
- Cable ties
- Washers & nuts (including 1x hoop shaped nut)
- Chicken Wire
- Plant pot bases x2
- Threaded rod
- Sticks (wooden, plastic or even a thin stick found in nature)
Bird feeder instructions:
1.Firstly, you’ll need to make sure you have all of the equipment and materials listed above and space to create your feeder.
2.Place your wire mesh on the table or floor space and roll it out to your required length, before cutting using the wire cutters. We’d recommend approximately 30x40 cm but, this depends on how big you’d like your feeder to be.
3.Next, roll the mesh into a tube shape (so that it looks like an empty toilet roll) so that the sides overlap slightly. You can now secure the sides together using our nylon or metal cable ties). Three should be enough to place down the fold, one at each end and another in the middle to secure the mesh tube.
4.Taking the base of a plant pot (a small saucer), drill two 2x2 holes along the diameter of the plant pot base. These should be a couple of centimetres from either edge.
5.You will also need to make a hole directly in the middle of the base, using a pen knife ensure the hole is big enough to fit your thread rod through snuggly.
6.The base can now be attached to the chicken wire tube using two pieces of additional wire which are each cut to at least 5cm long. These should be threaded through the small holes on either side of the base and looped around the bottom wire of the mesh tube. The wire can be twisted or tied to secure.
7.Our next step is to attach the threaded rod to the base of the feeder. Placing it in the middle hole of the base, twisting as you attach a washer and nut to the underside, fastening it in place. A further nut should be attached on the top side of the base also.
8.Step number eight requires the second plant pot base, using a pen knife to create a hole in the centre of the base (in the same way you did previously to fit the threaded rod).
9.You can now add your chosen bird food into the tube to the desired amount, before placing the second saucer on top of the feeder as a lid. The top saucer will also need fixing with a washer and a hoop shaped nut.
10.To ensure birds can land on your feeder easily, place a thin stick through the hole in the mesh wire tube horizontally. It should stick out at each side as a perch.
11.The final step is to simply find a place to hang your feeder, using rope or a further cable tie.
When hanging a feeder Tommy has warned, "Predators can be a real threat to birds, so make sure you hang it high enough out of reach of domestic cats. You should also consider locating it away from windows where possible. This can be difficult if you plan on installing your bird feeder on your balcony, but birds can easy be confused by windows, and might hurt themselves thinking they can fly through them”.
To find materials for constructing your own birdfeeder, take a look at our comprehensive range of tools and equipment or check out our blog for further DIY inspiration.
Sources:


